Receipts and Travel Expenses to Netvisor
Bezala offers Netvisor customers an easy and efficient way to manage receipts and travel expenses, while the Bezala Card service simplifies company card management.
Bezala offers Netvisor customers an easy and efficient way to manage receipts and travel expenses, while the Bezala Card service simplifies company card management.
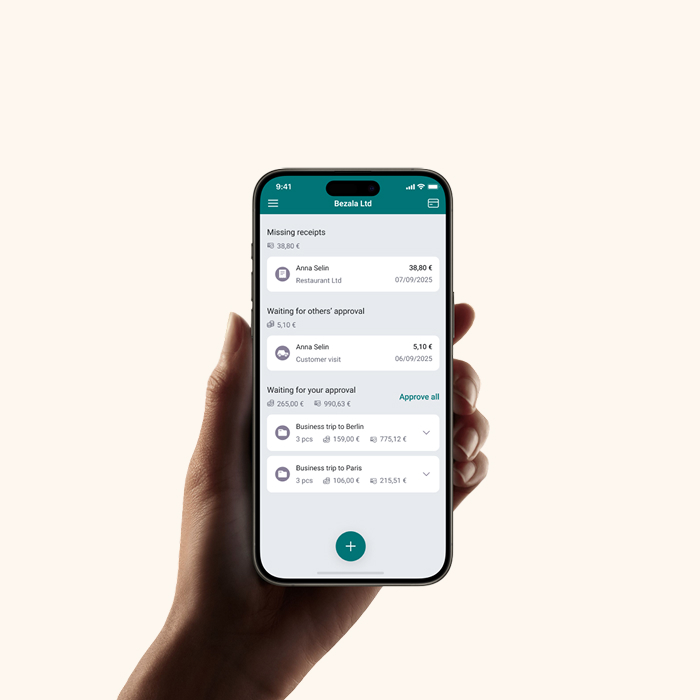
Bezala is an app that automates financial administration and is a perfect match for Netvisor customers. With Bezala, you can simplify receipt processing, handle travel reimbursements and non-salary compensations according to your organization’s policies, automate reminders for missing receipts, and make company card management easier.
Bezala Expense Management Bezala Non-Salary Compensation Automating Credit Card Receipts Bezala Card – Company Card Service| Bezala → Netvisor | Netvisor → Bezala | |
|---|---|---|
|
Pre-accounted bookkeeping data |
||
|
Payments (open bank transfers view) |
||
|
Cost centers and dimensions |
||
|
API-based integration |
Get in touch, and we’ll discuss your organization’s needs and explore together how Bezala could help – or download a brochure to learn more at your own pace first.
Need help? Don’t hesitate to reach out—our team is here for you! Open Monday-Friday 9 am to 3 pm (Helsinki time zone).
Help center