Onboarding
Setting up your Bezala account is very easy. Here we have gathered the information you need to think about, when your company onboards with Bezala.
Setting up your Bezala account is very easy. Here we have gathered the information you need to think about, when your company onboards with Bezala.
The implementation is one of the most critical phases of a successful software project. It’s a good time for the organization to pause and reflect on what the new software is truly meant to achieve. Should the old, familiar process simply be layered onto the new system, or is the organization ready to embrace process changes that the new software may enable?
Here are some key questions worth considering before reaching out:
We’ve helped hundreds of companies find their ideal expense claim process, and we’d be happy to help you too. Don’t hesitate to contact us, if you need help.
Once you’ve had a chance to consider your requirements, we’ll arrange a demo to see if Bezala is the right fit for your organization. The onboarding process is fast and efficient, and your team can start using the software quickly.
See the instructions for a seamless onboarding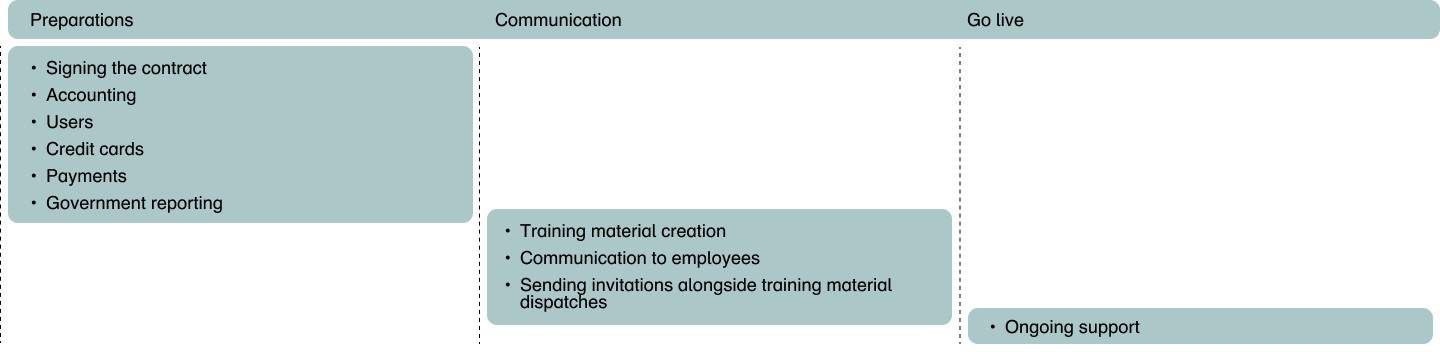
The onboarding scope and role division depend on your organization’s size and the integrations you plan to use.
View instructions for self-service onboardingSend us a message using the form below and let us know which accounting firm you work with and which financial software you’re currently using. Depending on the accounting firm, onboarding will be handled either with our support or directly by the accounting firm.
We will arrange a demo for you, during which we will identify your needs and the systems you are using. Our onboarding process is efficient, and Bezala can be made available to employees very quickly if needed.
Companies using Netvisor can handle the onboarding process directly from the Netvisor Store using these instructions.
Get in touch, and we’ll discuss your organization’s needs and explore together how Bezala could help – or download a brochure to learn more at your own pace first.
Need help? Don’t hesitate to reach out—our team is here for you! Open Monday-Friday 9 am to 3 pm (Helsinki time zone).
Help center